The more you ride your Harley-Davidson Big Twin, obviously more wear and tear will occur to your bike’s clutch. Whether it is worn from time (which is typically needed between 20,000 to 60,000 miles), from an accident that’s had lingering effects on your bike, or any other miscellaneous cause, your clutch will eventually fail. However, it isn’t as difficult as you might imagine to adjust your motorcycle’s clutch.
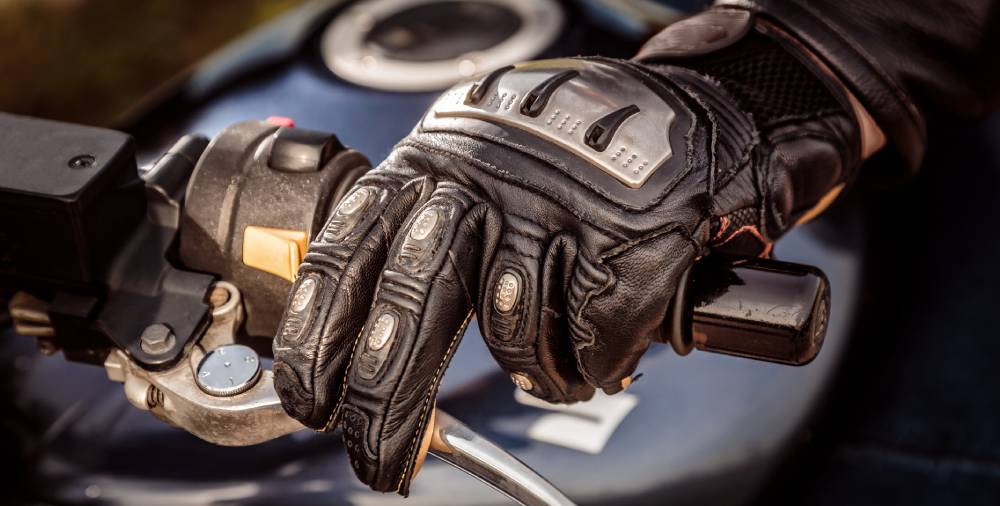
Motorcycle Clutch
First, let’s recap the purpose of your clutch. Used to disengage and engage engine power in a manual transmission, the clutch allows the bike to smoothly change gears. It prevents any forward roll or movement when shifting, so the rider doesn’t have to worry about any accidents while changing gears.
Explore Our Clutch Kit Options!
Interested in a new clutch? You can find a variety of options we offer HERE.
Process for Clutch Adjustment
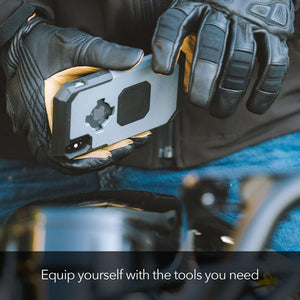
You will need your bike’s manual, common hand tools (wrench, allen wrench, screwdriver, etc.), and optional silicone when you adjust your clutch.
- Remove clutch cable cover. On the clutch cable, there is a cover, or “boot,” that protects it from any dirt or moisture, ensuring a longer lifespan. This is halfway between your handlebars and bottom frame. When you slide this up or down, it will reveal the adjuster hidden from it.
- Add slack to the cable. This will make sure that the cable doesn’t affect the clutch when it is adjusted later. Secure a wrench to the adjuster and use a separate wrench to loosen the nut above the cable adjuster. Then you can bottom the adjuster out, for maximum play and less tension.
- Remove the derby cover. The derby cover, or clutch cover, is taken off by unscrewing some bolts. Watch out for any fluid that may leak if your bike is at an angle (perferablt upright and on a lift) and hold onto the derby cover until all screws are out so it doesn’t abruptly fall.
- Loosen the clutch adjuster’s jam nut. This can be done well with an allen wrench and normal wrench. Hold the allen wrench to add pressure to the nut while the other wrench can loosen it about an inch off the plate.
- Adjust the clutch. Use your fingers to spin the clutch adjuster until it lightly seats. Now you can use an allen wrench to back our the adjuster screw one half turn to one full turn (this will impact your lever position when the clutch begins to disengage, set to personal preference). You can use your fingers to tighten the jam nut back and then fully tighten (but not too tight; no need for excessive torque) with a wrench.
- Put the derby cover on. Like before, this is a pretty painless process. Use your fingers to get the bolts going in place with the cover. You don’t want to tighten down any bolt too soon and it will be easy to tighten the bolts at once with the plate on, rather than one at a time.
- It’s also recommended to do this in a particular order. You want to tighten your bolts opposite each other or in a “star” method. This will help put the cover on evenly, for less warpage.
- Adjust the clutch cable. Now you are adjusting the slack back out of the cable. To do this, you are doing the opposite of step 2. As you adjust the clutch cable, you will start to see the cable swing out, indicating more tension. You can check your results by testing your clutch, determining how much play you prefer, recommended setting is 1/8" of lever freeplay (about the thickness of a nickle).
- Put the clutch cable cover down. Just as you started this process, you end it. Slide your cable cover back over the adjuster so it can keep out dirt and water. If you want to make this even easier, a spray of silicone will let the cover slide more freely to be put back in place.
Final Thoughts
And you’re done! Adjusting the motorcycle clutch on your Big Twin is a relatively stress-free job, but one that needs to be done every so often to ensure a smooth ride. If you are hesitant at any part during the process, it’s best to have a motorcycle friend sit in on your procedure to help at any point if needed, or you can contact the experts at Ramjet Racing for some prompt advice and help.
About Ramjet Racing
One of the largest motorcycle shops in Arizona, Ramjet Racing started out by building and servicing custom motorcycles over 20 years ago. Now, our team can help you in anything motorcycle related: from basic repairs and services, complete engine and transmission repair, custom work, or a one-stop shop for all of your motorcycle needs.